One of the food items I miss most is cheese. I mean, I’m
from Vermont. Cheese is a very important part of my life. I can eat it for
breakfast, lunch and dinner. Even dessert. Yummm apple pie and cheddar cheese.
 |
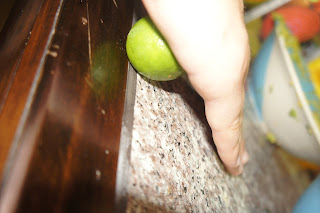
| Squeezing limes for the acid. |
Anyway. Yes, there technically is cheese in Chiang Mai. Technically there is almost everything in
Chiang Mai. But it’s a little out of my price range, and not that great quality
either that I can tell. So, when a friend casually mentioned that she knew how
to make cheese, a kind that doesn’t require any fancy inputs, only milk, an
acid, and salt, I was all over it.
One Sunday evening, in between rounds of a fairly
complicated but very fun board game, she taught me how to make cheese. She
calls it paneer, I call it a generic ‘farmers’ cheese,’ and it can be anywhere
from whipped-cream-cheese texture to a paneer or hard feta. You can also add
herbs and other flavors to mix it up.
 |
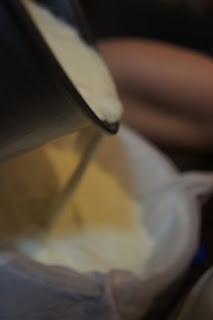
| Making cheese is fun! |
The next week, Jon and I taught some of our Chiang Mai
friends how to make the cheese, and split a bunch of it. This week, a friend
and I went super-fancy and got goats’ milk at a local health food store (told
you, Chiang Mai has everything). The resulting cheese was a tart, creamy goat
cheese, into which I plan to mix some of the half-kilo of dill that was the
smallest size the vendor at the market would sell me. Seriously, it’s a
freakin’ tree of dill. But that’s beside the point.
What’s the point? You can make cheese in a rice cooker,
using milk you buy at the grocery store. It’s really easy. It’s no aged
cheddar, or tangy Gruyere, but it’ll do. Especially when your main source of
dairy is an overdose of condensed milk in your iced tea.
I’ll call it bootleg
cheese.
Bootleg Cheese
Equipment: a rice
cooker or stove and pot; a thin cloth (can be cheesecloth, we used a cheap-o
handkerchief and it’s fine); colander or something else with holes (steamer
tray from a rice cooker works well).
Ingredients
-Milk (however much you want. A liter will make around 2
cups of cheese, depending on how hard you want it. The harder the cheese, the
less cheese your milk will make.
-An acid – vinegar or lime juice. We used lime juice,
couldn’t really taste it in the outcome, don’t worry. A liter of milk will use
1-2 Tablespoons, depending on how strong the acid is (less vinegar, more lime juice).
-Salt – around a teaspoon.
Step 1: Pour milk into the rice cooker/pot and turn
on medium-high heat (or just ‘on’ in the case of a rice cooker). Sprinkle in
about a teaspoon of salt, depending on how much milk you have and how salty you
want your cheese. You can always add more later.
Step 2: Heat up the milk to a slow boil, to where it
starts to get foamy and bubbly, and a bit of a skin on top.
Step 3: Turn off the heat and immediately add your
acid, slowly, until the milk separates
into curds and whey. (At this point you may want to make a Little Bo Peep
joke). You want to make sure it fully separates, so once it looks separated,
add a little more acid. You will be able to see white clumps floating in a
yellowish-clear liquid.
Step 4: Put the cloth into the straining instrument
(colander, steaming tray, etc), and rest the strainer over a bowl or in the
sink. (If you catch the whey in a bowl, you can use it to bake, cook pasta, etc
to add a bit of creaminess to a recipe that calls for water). Then pour the
‘liquid formerly called milk’ over the cloth.
Step 5: Let the liquid sit, with the whey draining
out of the cheese. Once enough liquid drains out and it looks like runny
cottage cheese, you can gather up the ends of the cloth and squeeze out more
whey. If you want the cheese to be hard, tie the cloth up around the ball of
curds and hang it overnight over a bowl or the sink. If not, the cheese is
finished as soon as it’s the consistency you want.
Keep in mind that this is a bit of an experimentation
process. Measurements can’t be exact because different milks behave
differently, and the acids may be different concentrations. The first time we
tried this at home, it was a disaster. But also, if you mess up the separation
process and it doesn’t seem to be draining, just start over – combine
everything again, reheat the milk, add more acid, etc. It may end up more
creamy, but it’ll be fine.


